Introduction
Are you looking to add a personal touch to your next celebration or event? Creating a DIY banner with photos and text is a fantastic way to make your decorations unique and meaningful. Whether it’s a birthday party, wedding, or graduation, this tutorial will guide you through the process of personalizing your own banner. With just a few simple steps, you’ll have a beautiful and customized banner that will impress your guests and create lasting memories.
1. Choose the Right Materials
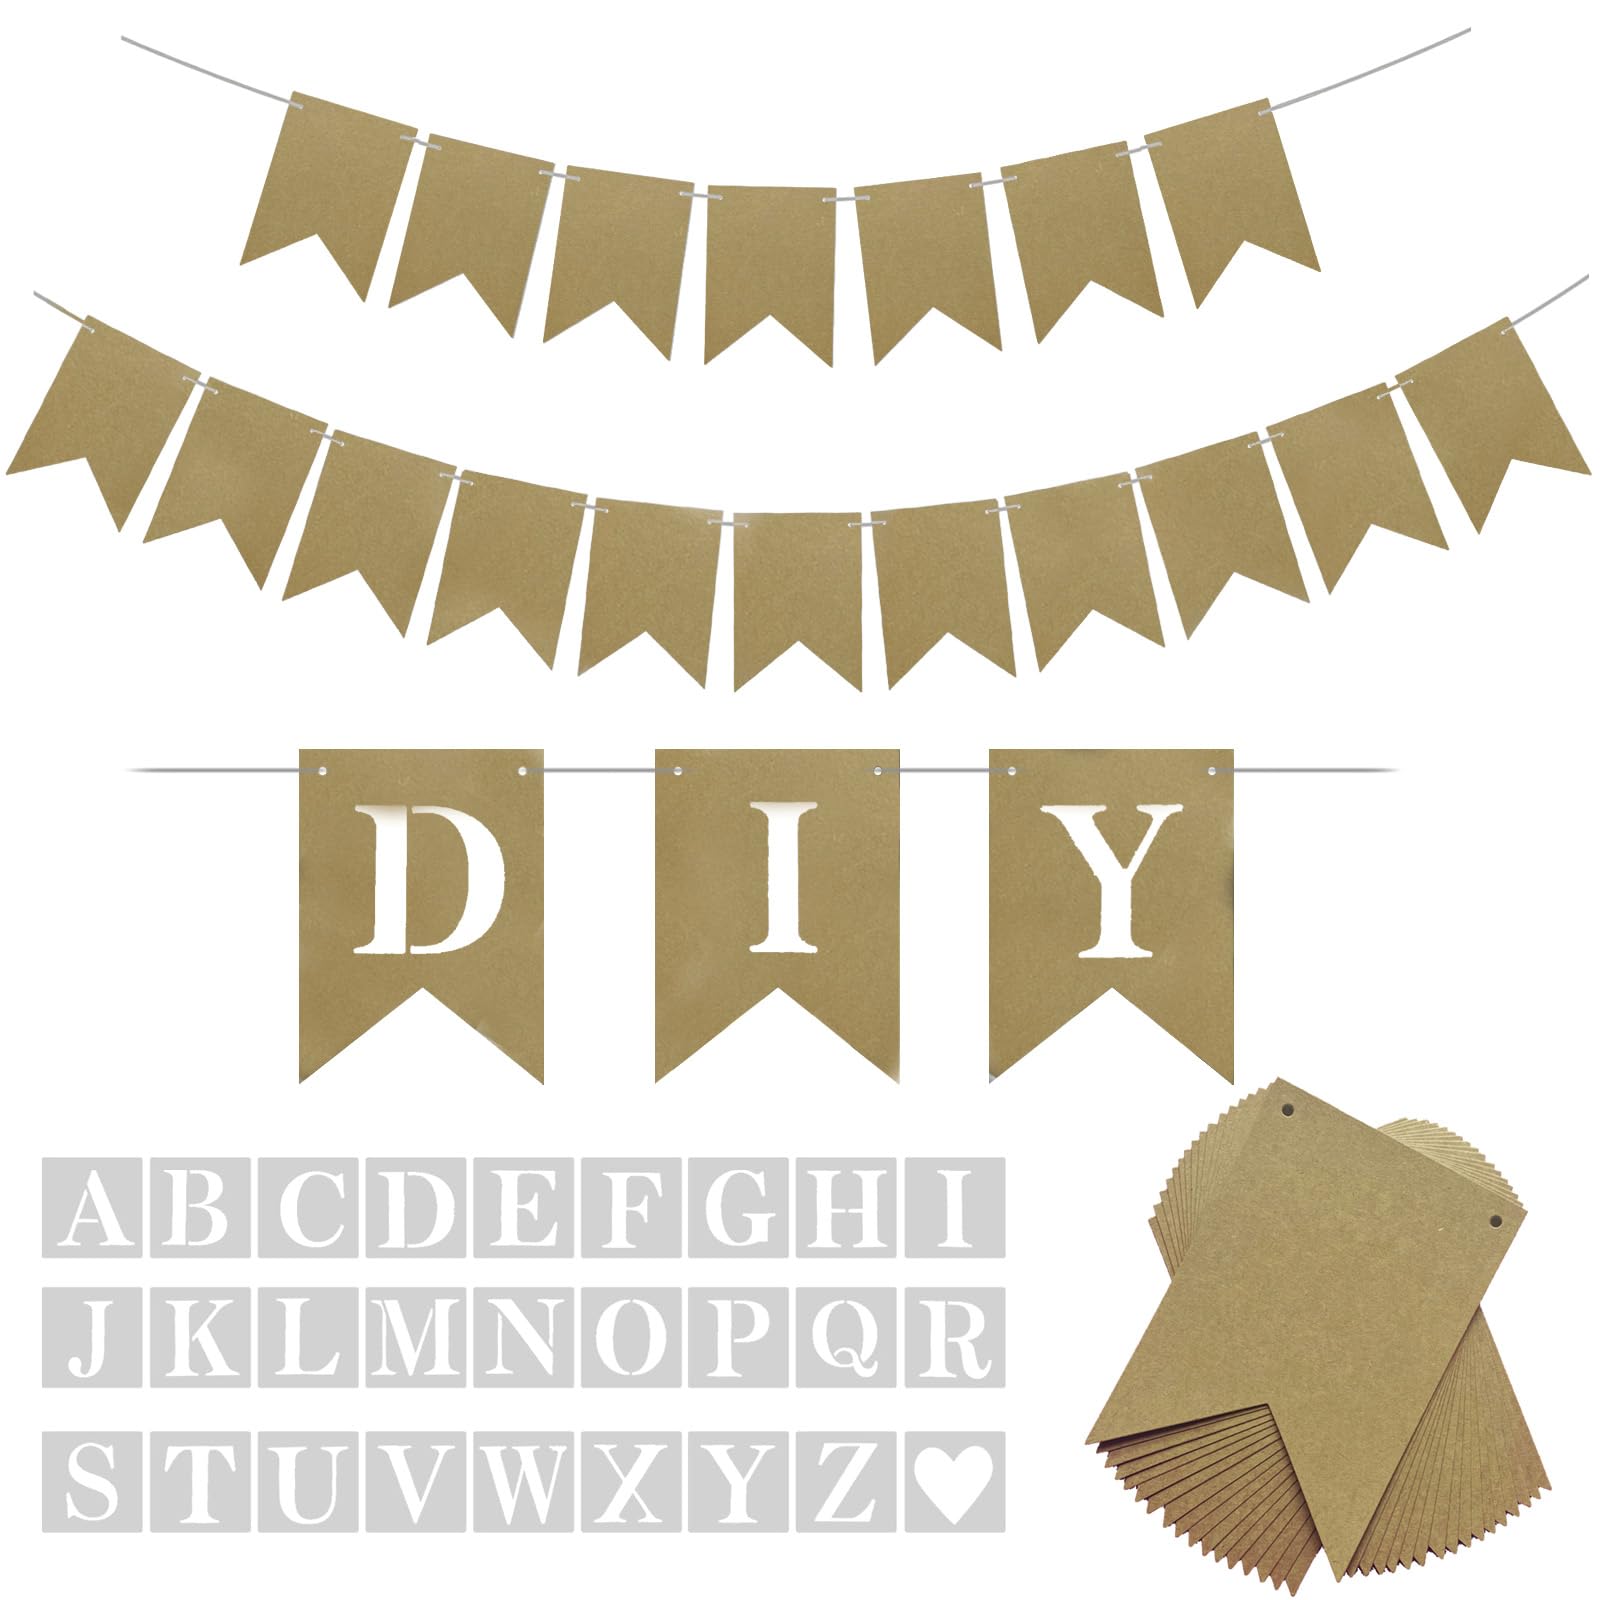
Before you begin, gather all the necessary materials. You will need a sturdy banner material such as canvas or cardstock, scissors, adhesive, a printer, and a computer with photo editing software.
2. Select Your Photos
Take some time to choose the photos you want to include on your banner. Consider the theme or purpose of the event and select images that reflect it. You can use personal photographs, stock images, or a combination of both for creating your bigger better banner graduation photos.
3. Edit and Resize Photos
Using photo editing software, edit and resize your chosen photos to fit the dimensions of your banner. Crop them if necessary and adjust the brightness, contrast, or saturation to enhance their appearance.
4. Design Your Banner
Decide on the layout and design of your banner. You can create a collage-style banner with multiple photos or opt for a more minimalist approach with a single large photo. Experiment with different arrangements until you find the one that suits your vision.
5. Add Text
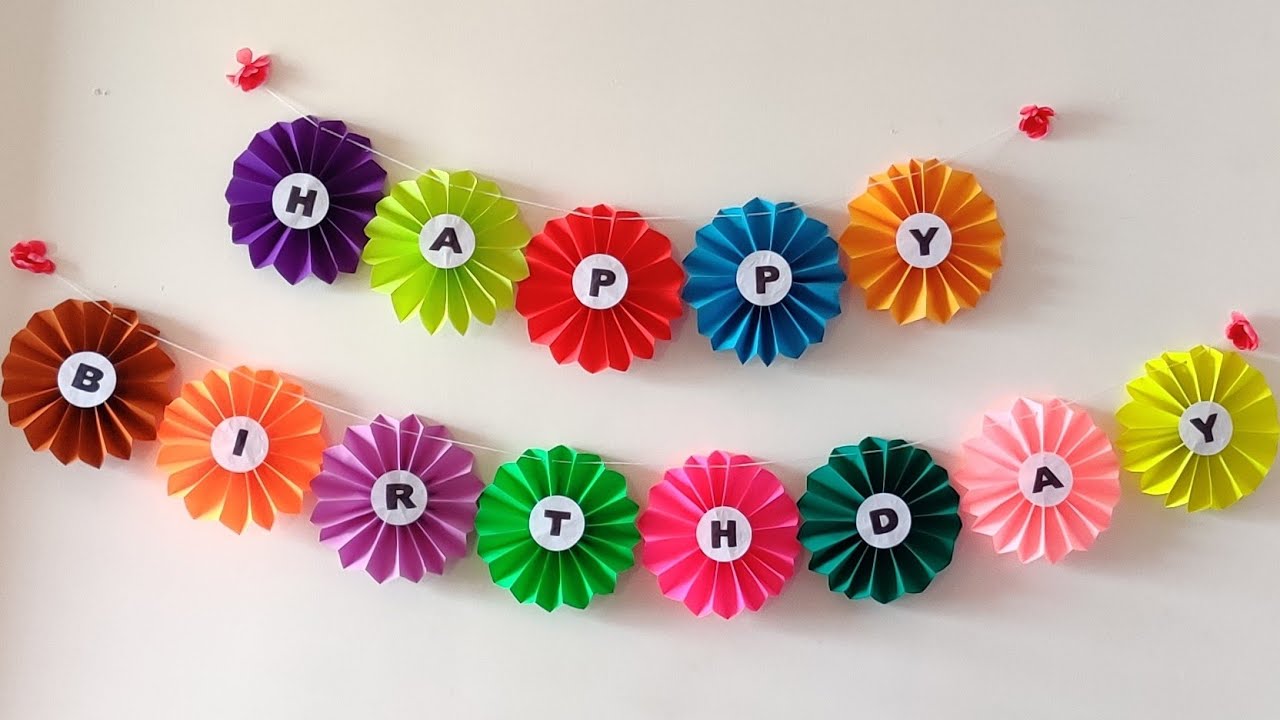
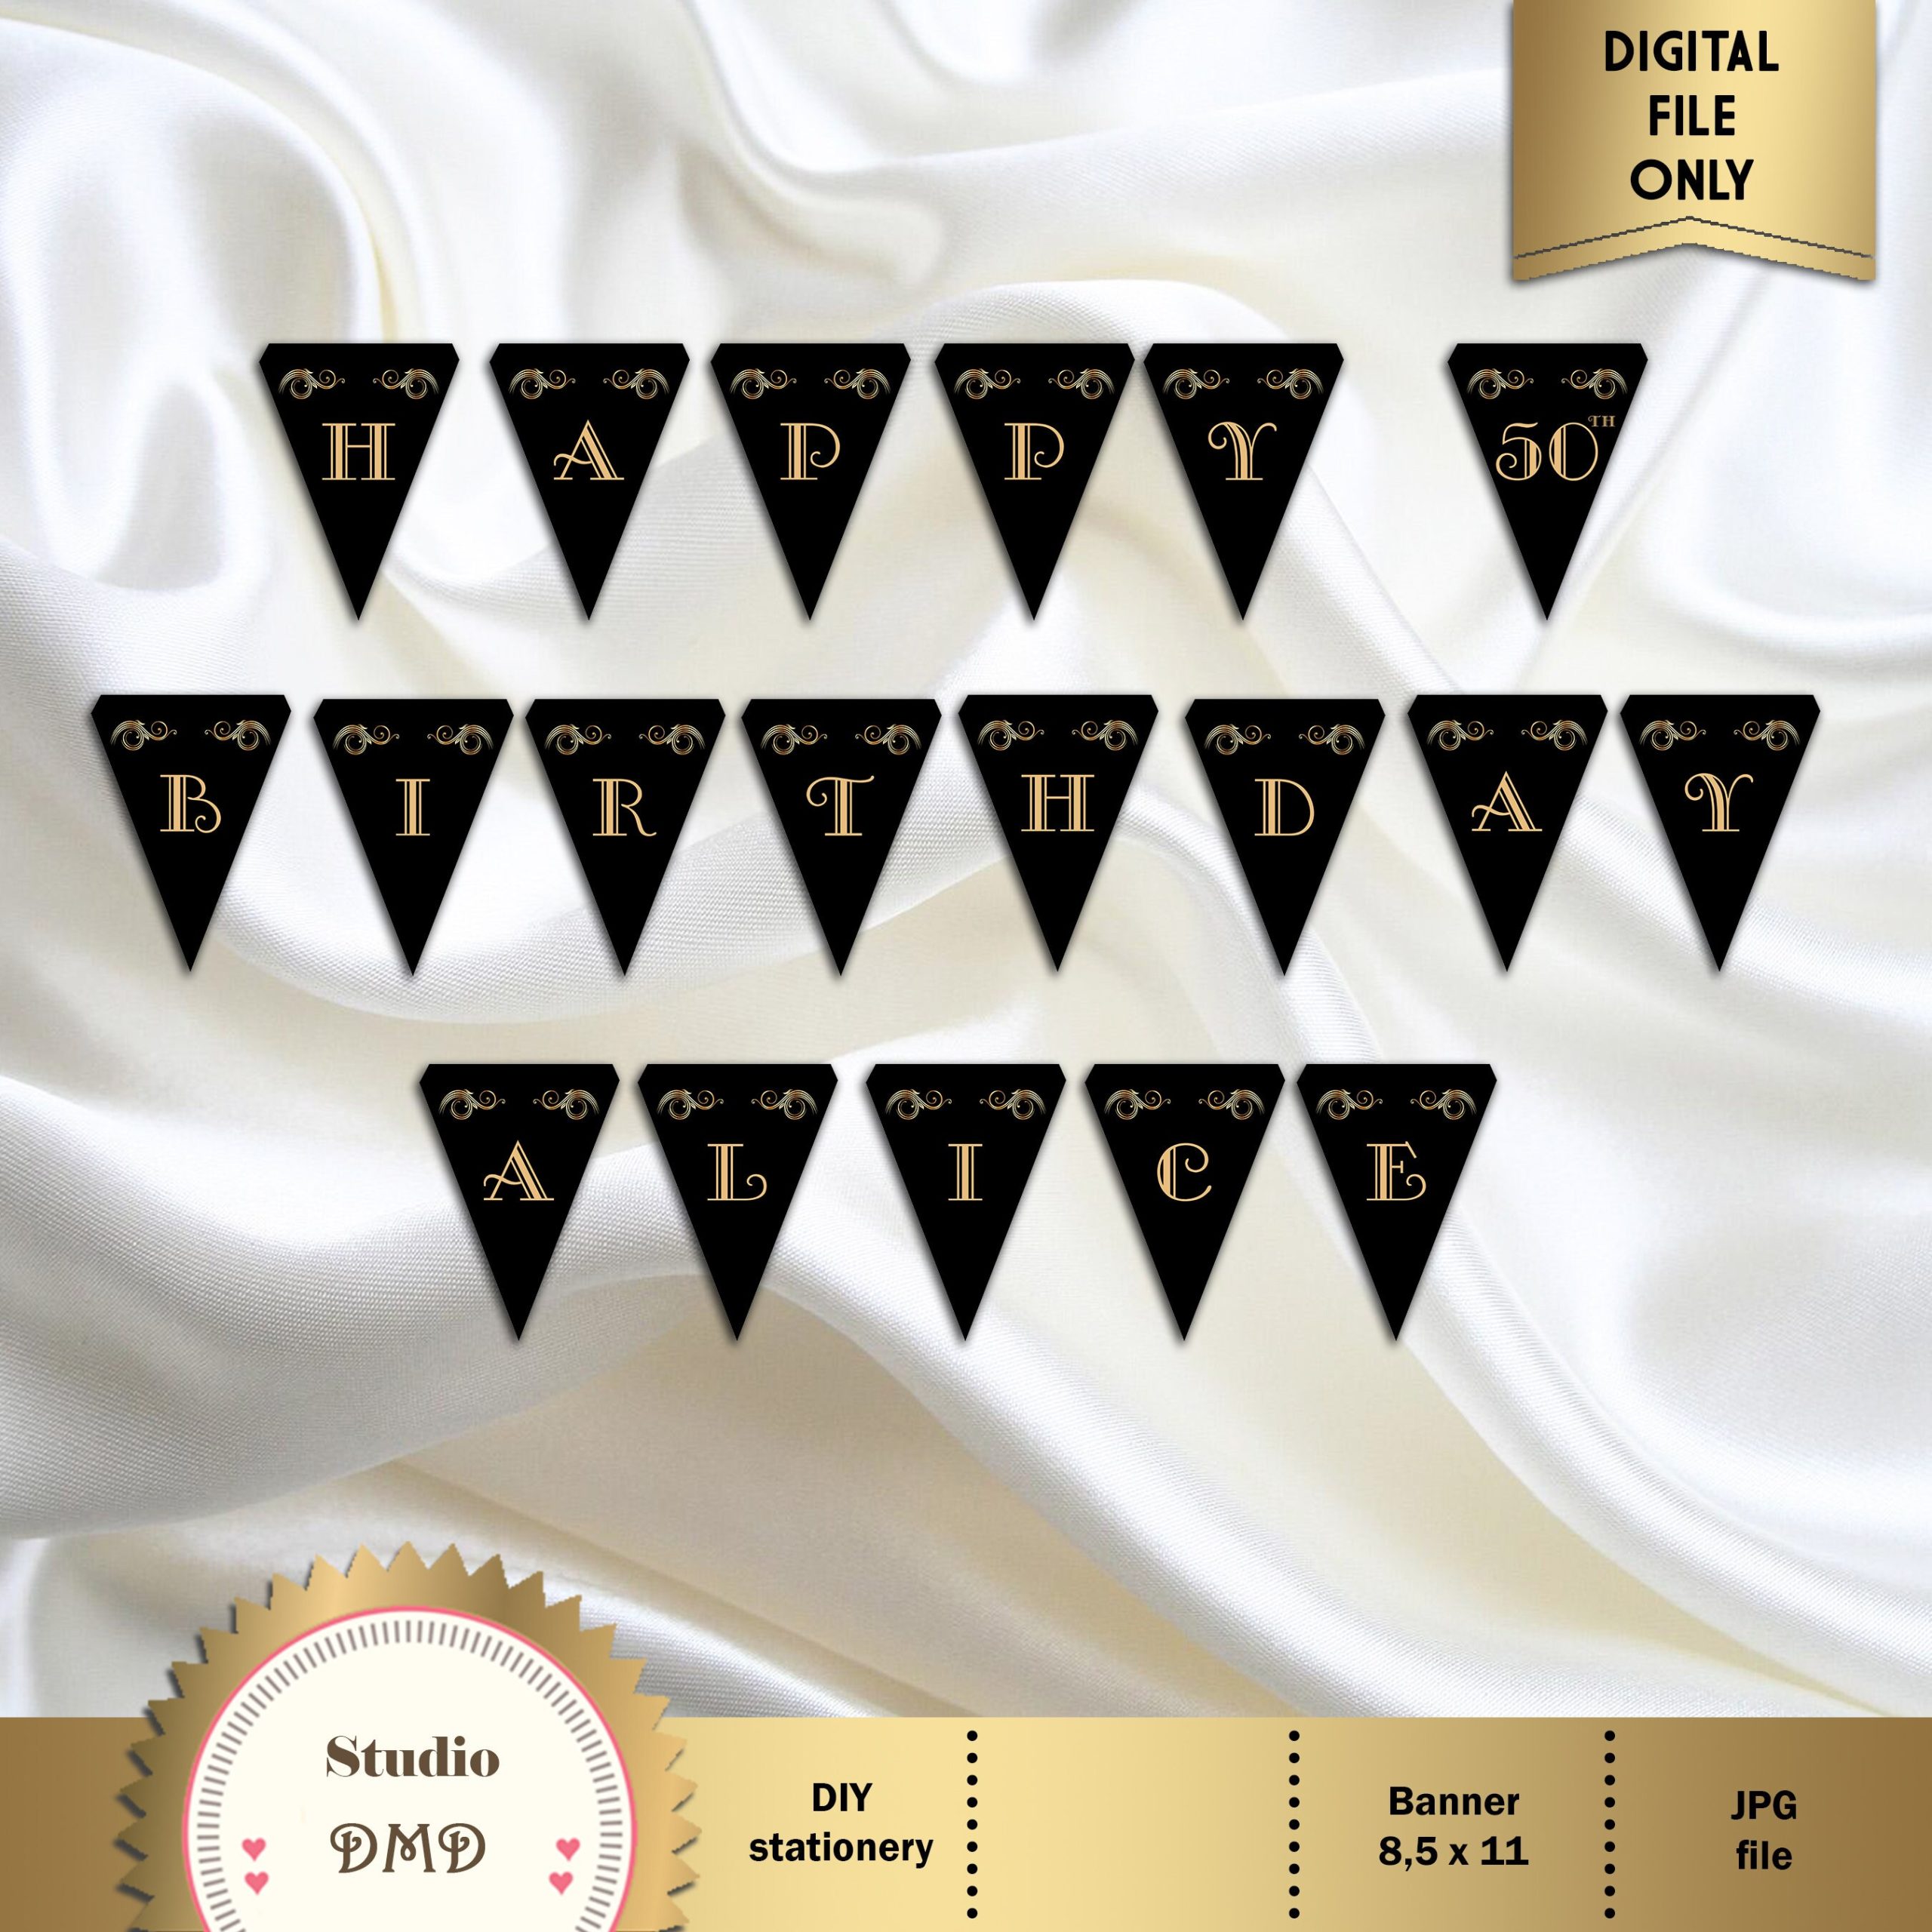
Think about the message or sentiment you want to convey with your banner. Choose a font that complements the overall design and add text to your banner. It could be a simple greeting, a quote, or the name of the person or event you are celebrating.
6. Print Your Design
Once you are satisfied with your banner’s layout and text, it’s time to print your design. Ensure that you use high-quality ink and paper to achieve the best results. If your banner is larger than standard printer paper, consider printing it in sections and then assembling them together.
Summary
In this tutorial, we will show you how to create a personalized DIY banner using photos and text. The process is easy and requires minimal materials. First, we will guide you through selecting the perfect photos for your banner. Whether you want to showcase memorable moments or highlight the guest of honor, we’ll provide tips on choosing the right images. Next, we’ll show you how to add text to your banner, allowing you to include names, dates, or special messages. We’ll cover different font options and placement techniques to ensure your text stands out. Finally, we’ll demonstrate how to assemble your banner, providing step-by-step instructions on attaching the photos a check my reference nd text to a string or ribbon. By the end of this tutorial, you’ll have a personalized DIY banner that will add a special touch to any occasion.
- Q: How can I personalize my DIY banner with photos and text?
- A: To personalize your DIY banner with photos and text, follow these steps:
- Choose a banner template or create your own using HTML and CSS.
- Add an image tag (
<img>) to insert your desired photo. Specify the image source using thesrcattribute. - Use CSS to adjust the size, position, and styling of the image within the banner.
- Add a text element (
<p>,<h1>, etc.) to include your desired text. Customize the text using CSS properties likefont-family,color, andtext-align. - Experiment with different fonts, colors, and layouts to achieve the desired personalized look.

Welcome to DIY Banner Ideas, your ultimate resource for all things related to banners! My name is Archie Macleay, and I am thrilled to be your go-to professional banner maker. With years of experience in the industry, I have honed my skills and expertise to provide you with top-notch banner solutions.