Introduction
Are you looking to add a personal touch to your next celebration or event? Custom DIY banners are a fantastic way to showcase your creativity and make a statement. Whether it’s a birthday party, baby shower, or even a wedding, designing and creating your own banners allows you to tailor them to your specific theme and style. In this step-by-step guide, we will walk you through the process of making custom DIY banners, providing you with all the necessary information and tips to create stunning decorations that will impress your guests.
Materials Needed
Before you start making your custom DIY banner, gather the following materials:
- Colored cardstock or construction paper
- Scissors
- Glue or tape
- Ruler
- Hole puncher
- String or ribbon
- Markers or pens
- Decorative items (optional)
Step 1: Decide on the Size and Shape
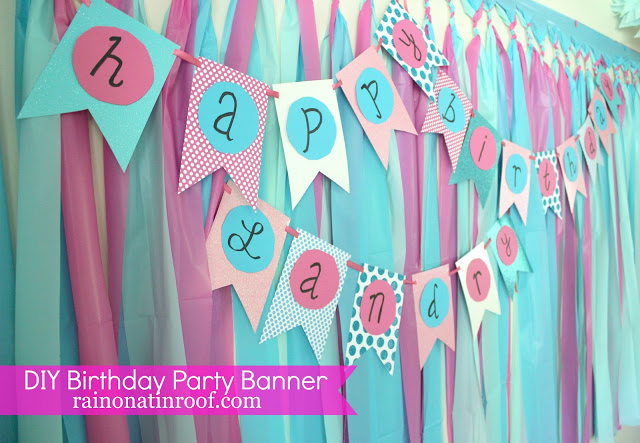
First, determine the size and shape of your banner. You can choose a traditional rectangular shape or get creative with triangles, circles, or other shapes. Use a ruler to measure and mark the dimensions on the cardstock or construction paper.
Step 2: Cut Out the Banner Pieces
Using the scissors, carefully cut along the marked lines to create the individual banner pieces. Make sure to cut an even number of pieces if you plan to have a double-sided banner.
Step 3: Decorate the Banner
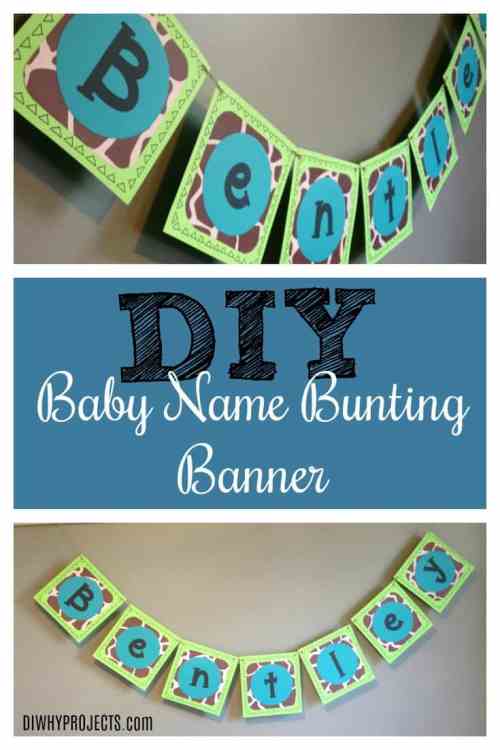
Now it’s time to let your creativity shine! Use markers or pens to write messages, draw designs, or add any other decorative elements to the banner pieces. You can also use stickers, glitter, or other embellishments to make it more unique.
Step 4: Attach the Banner Pieces
Take two banner pieces and apply glue or tape along one edge of each piece. Press them together, ensuring they are aligned properly. Repeat this step for all the banner pieces, creating a chain of connected pieces.
Step 5: Punch Holes
Using a hole puncher, make two holes at the top corners of each banner piece. Make sure the holes are aligned so that the banner will hang straight when assembled.
Step 6: Thread the String or Ribbon
Take a string or ribbon of your choice and thread it through the holes of the banner pieces. Start from one end and continue until all the pieces are threaded. Leave extra length on both ends for hanging.
Summary
Creating custom DIY banners is a fun and rewarding project that allows you to unleash your creativity. By following our step-by-step guide, you will learn how to design and make personalized banners for any occasion. From selecting the right materials to choosing the perfect color scheme and typography, we will cover all the essential steps to ensure your banners stand out. Whether you prefer a rustic, elegant, visit this website or playful look, our guide will provide you with the knowledge and inspiration to create banners that perfectly complement your event’s theme.
- Q: What materials do I need to make a custom DIY banner?
- A: To make a custom DIY banner, you will need the following materials: fabric or paper, scissors, ruler, pencil, paint or markers, stencils (optional), adhesive or glue, string or ribbon, and any additional decorations you desire.
- Q: How do I choose the right size for my banner?
- A: The size of your banner will depend on your specific needs. Consider where you plan to display it and how much space you have available. Measure the area and determine the dimensions accordingly. It’s also important to consider the length of the message or design you want to include.
- Q: How do I create a template for my banner?
- A: Start by deciding on the shape of your banner, such as rectangular, triangular, or pennant. Use a ruler and pencil to draw the outline of the shape on your chosen fabric or paper. Make sure to leave extra space at the top for folding and hanging purposes.
- Q: Can I use stencils for my banner design?
- A: Yes, stencils can be a great tool for creating neat and uniform designs on your banner. You can either purchase pre-made stencils or create your own by cutting out shapes from cardboard or plastic sheets. Secure the stencil onto the fabric or paper and apply paint or markers through the cut-out areas.
- Q: How do I attach the letters or decorations to my banner?
- A: There are several options for attaching letters or decorations to your banner. You can use adhesive or glue to stick them directly onto the fabric or paper. Alternatively, you can create pockets at the top of each banner piece and slide the letters or decorations into place. Another option is to punch holes in the top corners of each piece and thread string or ribbon through them.
- Q: How can I hang my DIY banner?
- A: To hang your DIY banner, you can tie each end of the string or ribbon to hooks, nails, or any other suitable hanging mechanism. Make sure to adjust the length of the string or ribbon according to your desired height and positioning. You can also use adhesive hooks or

Welcome to DIY Banner Ideas, your ultimate resource for all things related to banners! My name is Archie Macleay, and I am thrilled to be your go-to professional banner maker. With years of experience in the industry, I have honed my skills and expertise to provide you with top-notch banner solutions.